Cheat sheet to beating diffrent enemy's you'll encounter in the field

Ticks: These little robots are a real pain to deal with unless you know what your doing.
Sound: Mildly loud clicking that is used in quick succession.
Location: Dark corridors or at the top of stairwells and also found around corners within bunkers
Strategy: Slow and steady sweeps of the floor between each corner in corridors is advised and your flashlight turned on when dealing with these.
Weaknesses: One shot upon any part of its body for prototypes and two shots on stronger variants if going for its weak amour plate.

Seekers: These are the first generation of flying robots that will be a annoyance if left to its own devices.
Sound: Buzzing/beeping sound that is used at intervals
Location: Forests, Towns and Open fields.
Strategy: When a Seeker is within the vicinity of the player you would receive a yellow detection meter in the direction of the Seeker upon the HUD use thermals to locate the Seeker whether in Foliage, Streets or Fields.
Weaknesses: The Alarm module on the top or its thruster will usually one shot it with calibres 5.56 or above. If these are difficult to track its body is usually weak with two to five shots destroying it completely.

Runners: These dog like robots never seen on their own and usually travel in packs of four to seven or eight.
Sound: A marching related sound when multiple are within the area of the player.
Location: Streets, Forests, Parks, Bunkers and Fields.
Strategy: Preferably a surprise offensive to kill as many as possible before they begin their counter-attack. If surprise isn’t a option focus on one at a time and keep distance and stay on the move.
Weaknesses: The exposed fuel cell located on its back or its vision module. If its weak points are out of reach resort to a heavy gun fight using multiple rounds of 5.56 or above or multiple shotgun shells or slugs to quickly defeat this threat.

Hunters: These are versatile opponents any experienced player will encounter they stand at a height slightly taller than the player.
Sound: Marching but less often than runners and louder.
Location: Fields, Bunkers, Houses, Bases and Towns.
Strategy: A first strike approach is suggested only if a plan is formed as Hunters can severely injure a inexperienced player.
Attempt to get behind it or at its sides as you can avoid most of its attacks however have a plan for retreat because Hunters can almost run as fast as a player but can be outrun.
Heavy weapons are suggested for example, 7.62 rounds, 12g buckshot or HEDP rockets <— (Last resort)
Weaknesses: The two ventilation panels on the side’s of the Hunters head are sweet spots also the fuel tank on its back but requires quick attacks to get behind it. Disarming the Hunter is also a good weakness available to be exploited as this will diminish the Hunters attack ability and reduces its offence to short range or neither at all.

Harvester: This is the second largest beast of them all and has special form of attack as most if not all the robots are independent or accompanied by its own models but this one is accompanied by three to four runners of varying class/model.
Sound: Loud stomps followed by grinding in the distance with high consistency.
Location: Roads, Forests, Bases, Fields and Towns.
Strategy & Weakness: Focus on the runners accompanying the Harvester first before you go for the Harvester.
Once the runners are dealt with the Harvester ten weak spots these include, The amour plates on each leg (1 per leg up to four weak points in total), The eye, The Rocket pods on it’s back and the three gas canisters on it’s back encased under the rocket pods.

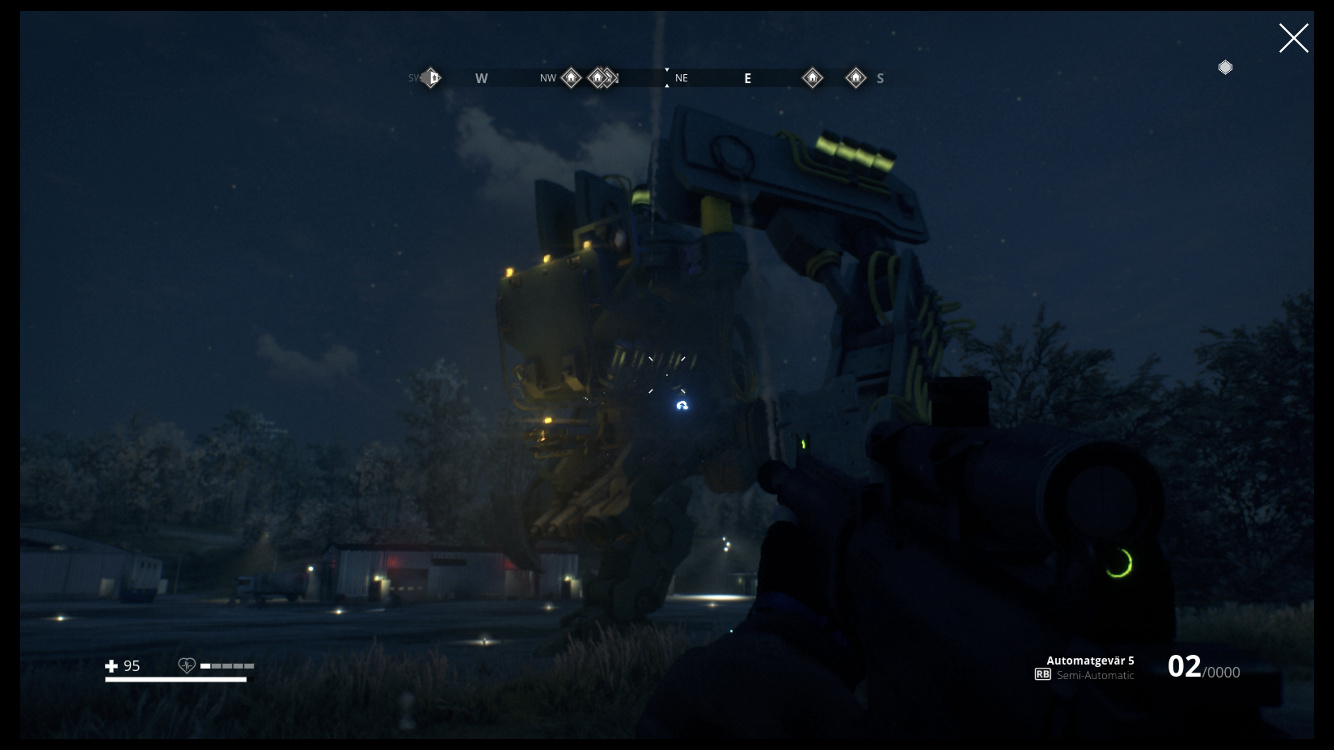
Tank: This is it the biggest of them all the tank this upright beast towers everything from players to houses.
Location: Mainly fields, Towns, Bases, Forests and Main Roads.
Sound: Loud stomps from its two heavy duty legs which move with less consistency than the Harvester
Strategy & Weakness: Don’t engage without planning ahead as retreat isn’t a option following its new software update allowing it two sprint towards or after you followed by a shock wave.
When engaging with the Tank be alert to its attacks which includes Machine guns, Rocket pods, Rail guns (Exclusive on FNIX models)
Tickpods (Exclusive on Military and FNIX models) and its manual shock wave.
All of the above are damageable components along with its eye, fuel tank, and circuit boxes with yellow warning signs.
Heavy weapons suggested which includes Rockets of all types Aside to Chaff and Smoke, Grenades, and 50.BMG or 50.AP.
if these are unavailable use 5.56 or 7.62 rounds with caution.
Other models like the Military class and FNIX come with exceptionally stronger amour to get though before you reach the soft spots.
When against these models make sure you have at least two-four adrenaline stims available and a lot of stuns/EMPs.

Thank you for reading this cheat sheet and i hope it helps with your safety and experience.
Thank you to Ennui for their suggestion.
Thank you to Flick for their Suggestions & Additions below.
Thank you to Pegnose for their Suggestions & Additions to Mine and Flick’s input.

4 Likes

There tends to be a best practice order to hit the points on each enemy which may be worth adding.
In some cases, it may also be worth to segregate by tier (e.g. the strategy for a FNIX tank is different from that for a miltank), this may also be worth noting.

1 Like

Alright thanks for the tip ill add you in the edit and update the sheet shortly

1 Like

Hows that?
Ive added your suggestion and gave a shout out

if anyone else as any input to my cheat sheet i developed do let me know and ill add you to the list of people getting shout outs and your content.

When I started playing the game, I was wondering for a while what actually does kill a robot.

The current model seems to be: A robot has a health bar (100% in the beginning) and that must be brought down to zero. It does not really matter how you do that, but hitting components does the most/fastest damage. Some of the components are behind armor, others are presented openly. It is irrelevant which of the components you target/destroy aside from unprotected components being hit and destroyed more easily.

Example: You shoot the gun and the rocket launcher off a military hunter and after that very few hits anywhere on the body suffice to destroy it.

Often it seems to me that the weapons of tanks are themselves armored. Not sure though.

2 Likes

Aren’t those on Military tanks and only in rare occasions?

Military tanks and Harvesters also have those short range pulse attacks, not sure how to call them exactly.

2 Likes

A couple of things off the top of my head,

Tanks:
Rockets are wasted on tanks. They’re for groups of things, or depending on your co-op group, for boosting morale.1
As soon as you hear it launch rockets, move out of the way. Don’t even stop to look at them. They’re not going to stop to look at you.

Flares are wasted on tanks, but will distract everything else. Throwing a flare at a tank can get other things to shoot in its direction, or for example, a large fuel container near by.

Consider cover. If you can get a little ground between you and the guns by say, standing slightly down a hill, the tank will struggle to shoot at you directly. If you’re in the open then i) you’ve screwed up, and ii) consider disabling only one of the weapons to eliminate the charging attack. If you’re in the woods or otherwise unreachable, disable the guns and make yourself safe.

Smoke grenades work.2 Smokescreens look like solid objects to tanks (and other robots) and if you place them right the tank won’t shoot at you while you can merrily shoot at it. Either the tall parts you can see, the space where you assume it is, or switch to IR if you have it and choose your targets.

Using one EMP typically buys sufficient time to disable one weapon.

Harvesters: Destroying that box on the back with the fuel in it causes a lot of damage to the harvester. It’ll fold quite quickly once that’s gone. There’s a smaller patch above that box that also sparks blue when you shoot it.

Prototypes typically have two escorts, military have three and FNIX type have four. If you see less, you’ve missed some, who might alert other robots in the vicinity.

Hunters:
Hunters will travel in groups, but can get quite spread out. Be careful that you found them all. They have good hearing too, and love to join in any battles they can detect.

If they’re doing their air attack, run away as soon as you hear them launch. Running underneath is often easiest, and leaves you close to them while they recover, which is a great opportunity to do heavy component damage.

If you run up to place canisters at their feet during combat3 they’ll try horizontal slash with their blade which invariably blows up the canister and rag-dolls you for the effort.

Runners:
If you can snipe well, a viable approach is to simply and quietly pick them off one by one. Even the FNIX runners tend not to notice their pack thinning while you work through them.

Their jump attack can be used to blow up cars or canisters etc. Dodge the attacks by running away or sideways, if you have the speed. They don’t jump high enough to run underneath, and if you try they’ll just push close to you before they AoE. It’s possible to lure them to blow up the fuse boxes on houses, which of course give them an EMP, and you the time to put them out of your misery.

Sometimes one runner will leave combat and flee. If you give chase you’ll find yourself being lured into an ambush. If you don’t, it’ll come back with alert buddies.

If a dog has a shiny red laser, it will also have rockets. Get rid of it asap.

Runners are neither tall nor buoyant. You can trick them with chases and flares or radios to run into shallow lakes where they do the robot equivalent of drown.

Seekers:
Shooting the alarm doesn’t kill it directly, but it does stop it calling for help. Destroying the alarm also prevents it from dropping comm array lures. Shots to the jets do usually down it in one.

Ticks:
If they’re passengers from a tick pod, keep moving and they’ll get bored of life and explode. If they happen to be FNIX types with explosives on them, one shot on deployment will usually blow up the lot, and damage the carrier a little.

If you suspect they’re lurking in a bunker, consider tossing a flare to flush them out.

Situations with multiple robots:
Anything with guns is dangerous, so concentrate on reducing the number of things shooting at you. If you’re facing say, dogs and hunters, it can help to focus on avoiding the hunters while you kill the weaker dogs so that you then have the space to handle the hunters without being nibbled to death.

If there’s a harvester involved then once you’ve destroyed the rocket pods you can ignore it until you have less pressing things to worry about.

Generally:
Any damage done is good. More sparks is better, blue sparks is best. If it’s not sparking a lot, shoot it somewhere else.

If your strategy relies on adrenaline, it’s a bad strategy. Adrenaline is for buying a second chance if you screw up. (Personally I’m allergic and save it for buddies.)

Consider throwing sticky flares at robots. Let the robots help you weaken or kill other robots. If you’re struggling to get behind a harvester, a flare or sticky can help you turn them.

Don’t fight on ground covered in sticks since it will reduce your mobility when you’re dodging. You’ll trip or bump into stumps, and that’s not what you want when showered by rockets.

If you’re overlooking some robots, perhaps a pack of dogs outside a bunker, there’s not a lot to stop you placing a gas canister down and shoving it off the edge. Now the canister is near the dogs while you’re still upstairs. Snipe away!


1. People like seeing explosions. If morale is in question, rockets make you look all no-nonsense, and help the team get back on track.
2.Smoke is underappreciated, and has some handy tactical uses. Try it out.
3. Oh yes I do.
1 Like

HAHAHA. A couple of things. You train yourself in understatement, miss? :smile:

Sticky flares come to mind. Although this tactic was not that effective the last time I tried.

Close I would say. But definitely not for rivals. And disabling tanks with small EMPs is not easy due to their limited range.

You get the great opportunity to shoot them in the back which can easily kill a fresh hunter with one (extended) mag of a good AR.

I also found that the area of their attack is more directed to the front of them. Running away, particularly with stock running speed, is much harder than diving under them.

I find small EMPs to be the single most helpful utility against hunters as it gets hard to eliminate their weapons once they come running in 4-packs. You just can’t afford to stand still that long otherwise and the weapons are kind of hard to hit if they are on the move.

Nice find!

Exactly. Reducing the number of guns shooting at you is the most important strat of all. Be it by taking down enemies, taking off guns, or just via cover or running away.

Brilliant, I always forget about you being able to push things. Maybe because it is so inconsistent in this game.

2 Likes

This is a lot to go though but adding it all in will probably take forever so I’ll just edit your names into my edit

Just that profile pic

1 Like

@Coolpaul3000 Yea Mr pepperoni himself

1 Like

Also our first look at the Apoc Class tank